This website uses cookies
This website uses cookies. For further information on how we use cookies you can read our Privacy and Cookie notice
This website uses cookies. For further information on how we use cookies you can read our Privacy and Cookie notice
Express delivery in main cities
Easy Return, Quick Refund.Details
KenyaQuick Stock-COD
92%Seller Score
8 Followers
Shipping speed: Excellent
Quality Score: Excellent
Customer Rating: Average
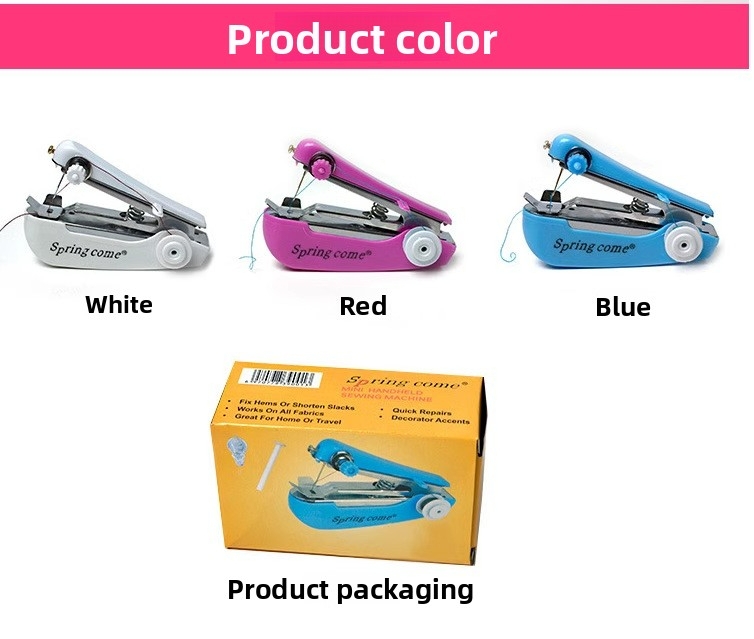
Product name: Upgraded manual sewing machine
Single weight: 100 grams
Packing quantity: Electroplated model 160PCS
Box size: 48.5*31*47cm
Whole box weight: approximately 19kg
This machine has too little profit margin and is non-returnable! Attention, dear buyers! If you mind, please be cautious before purchasing!
Note: The Springcome brand we sell is electroplated


Micro Sewing Machine Correct Usage Method
1. Holding the machine: Use your right hand to hold the base with four fingers, place your thumb naturally on the top of the main body cover, and hold the whole machine steadily.
2. Threading: Gently pull the thread from the spool.Thread through the guide wire diagram A, then introduce the clamp wire adjustment piece
B. Pass through the guide wire loop again.C. Place the thread temporarily next to the machine needle, pass the threading tool through the needle hole from the front of the machine needle (towards the body joint), then insert the thread into the small hole of the threading tool, pull out about 2-3 centimeters of thread from the threading tool, press down with the threading board, and it's ready for use
3. Place the fabric: Use your right index finger to lift the press plate, place the fabric ready for sewing (thickness not exceeding 0.8 millimeters) smoothly under the press plate, gently put it back to press the fabric
4. Sewing operation: Hold the fabric with your left hand, gently and quickly press down on the top of the upper cover with your right thumb until it reaches the bottom, then press down again with your thumb repeatedly, and the fabric feed mechanism will automatically send the sewn item to the left.Hold the machine with your right hand and gradually move it to the right, while holding the fabric with your left hand and gently moving the sewn item to the left in rhythm with the sewing process until it's finished
5. End: After sewing is finished, use scissors to cut the thread ends, gently lift the press plate to remove the fabric.Pull the thread from the reverse side of the sewn fabric, thread it into the adjacent loop, tighten it and tie a knot to secure the stitching. Do not forcefully pull the fabric to break the thread at the end of sewing to avoid damaging the needle and stitching
6. This machine can automatically feed fabric and adjust the tightness between stitches, but it's necessary to pay attention to the following points:
A. The pin is too tight; adjust the pressure nut slightly counterclockwise
B. The pin is too loose; adjust the pressure nut slightly clockwise
As shown, adjust the correct pin tension.If you need larger stitches, you can pull the fabric slightly faster with your left hand.If you need the stitches to be tighter, you can pull the fabric slightly slower with your left hand
7. Change the thread ball; if you want to use a larger thread ball, you can connect the spare extension rod with the thread spool shaft and insert it into the larger thread ball.Place the spare plastic cap at the end of the rod to secure the large ball of yarn, then rethread the needle, adjust the thread tension before sewing; use 50#-90#Cotton or synthetic threads work well;
8. Change Needle: Unscrew the fixing screw and remove the broken needle.Install the new needle as shown, making sure to align the flat side of the needle with the fixing screw correctly, do not install it backwards.Needle type DHK-14.

This product has no ratings yet.
/product/18/4991523/1.jpg?2136)