HomeESP32
12

Frequently Asked Questions about ESP32

How do I pick the right ESP32 development board for my project?
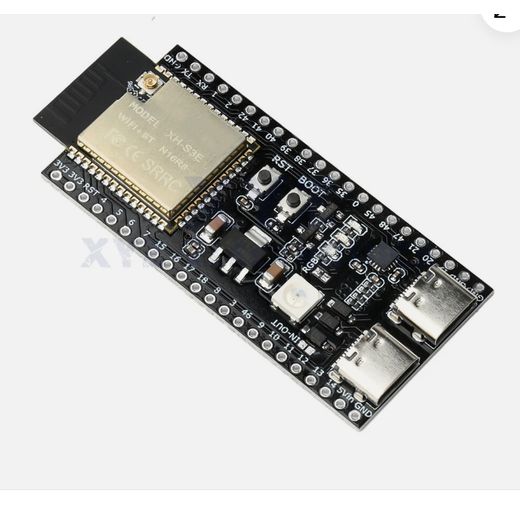
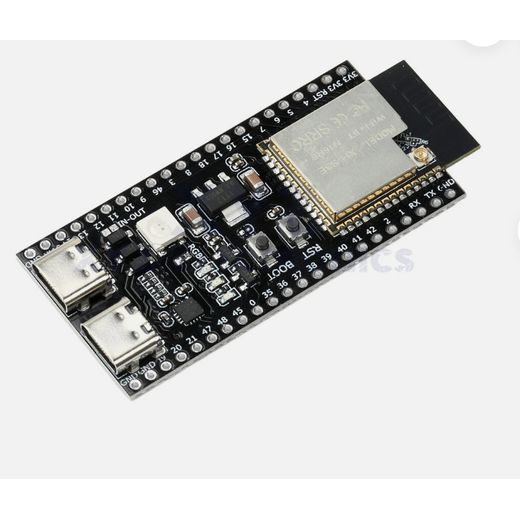
Begin with your project goals: if you need AI-ready performance and robust I/O, choose the ESP32-S3–DevKitC with dual-core LX7, 16MB flash, 8MB PSRAM and AI acceleration. For compact IoT projects with built-in camera, consider ESP32-CAM variants. If you want a small, cost-efficient module with Wi-Fi/Bluetooth, ESP32-C3 or ESP32-WROOM-32U fit the bill. Check USB interface options (Type-C or USB-UART), IDE compatibility (ESP IDF or Arduino IDE), and the number of GPIOs available for your sensors and modules.
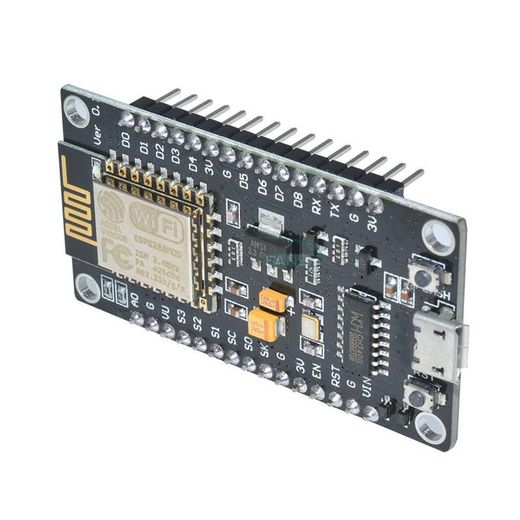
What is the difference between ESP32-S3 and ESP32-C3 in terms of capabilities and ideal use cases?
ESP32-S3 offers dual-core performance with AI acceleration and vector instructions, making it suitable for AI-enabled projects and more demanding tasks. ESP32-C3 is a smaller, single-core RISC-V option that still provides Wi‑Fi and Bluetooth with solid IoT capability, ideal for leaner applications. When choosing, consider the need for AI features and processing power versus energy efficiency and size. Both support common development environments, but S3 targets richer workloads while C3 suits compact, budget-friendly builds.
Which ESP32 board is best for camera projects or AI-enabled demos?
For camera-based projects, ESP32-CAM variants are designed around a built-in camera module (OV2640 on some boards) and include integrated Wi‑Fi/Bluetooth. If you want a higher-end AI-capable board with more processing headroom, the ESP32-S3–DevKitC family offers dual-core performance and AI acceleration without an integrated camera by default. These options let you choose between an all-in-one camera setup or a more flexible board for computer vision experiments.
What IDEs or programming environments do these boards support?
Most ESP32 boards on this range support popular environments like Arduino IDE and ESP IDF. The ESP32-S3 DevKitC is explicitly described as compatible with ESP IDF and Arduino IDE, while other boards are commonly used with Arduino IDE or PlatformIO for easier prototyping. This flexibility lets you start quickly with simple sketches or dive into more advanced firmware development as your project grows.
How do I connect and start using a new ESP32 board out of the box?
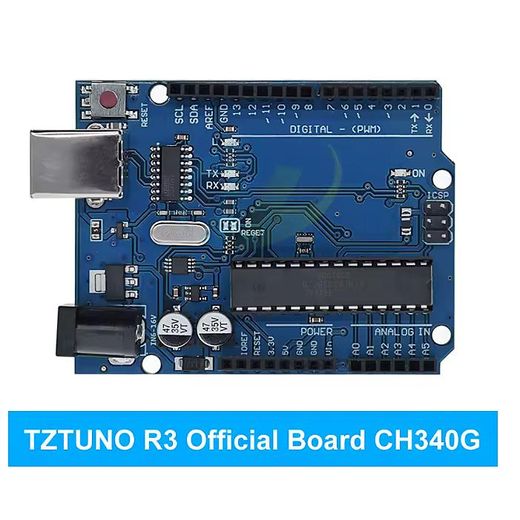
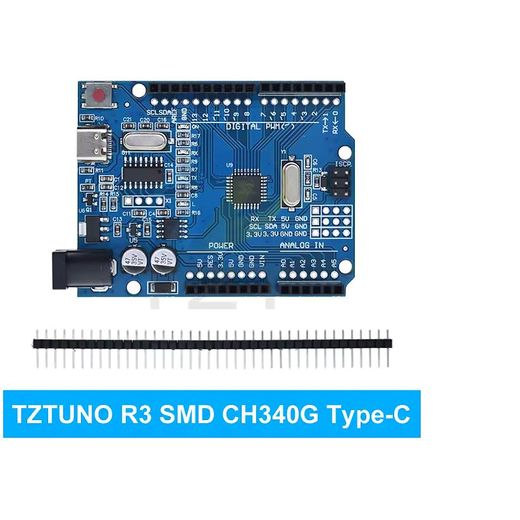
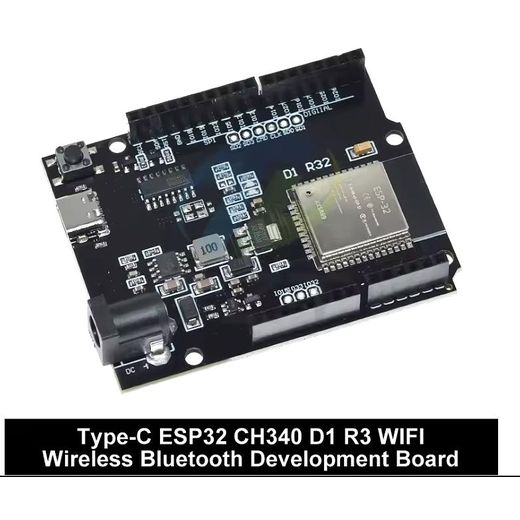
Connect the board to your computer using the USB-C or USB-UART interface, depending on the model. Install the appropriate USB drivers if needed (for CH340G or CP2102 variants). Open your chosen IDE, select the correct board model and port, and upload a basic example to verify connectivity. Some boards feature native USB-C for programming, while others rely on a CH340G or CP2102 bridge for serial communication.
Are there ESP32 boards suited for beginners and for advanced users?
Yes. For beginners, compact boards like ESP32-C3 Super Mini provide straightforward Wi‑Fi/Bluetooth functionality in a small package with easy IDE support. For advanced users, devices with dual-core S3 processors and AI acceleration offer greater processing headroom for complex demos, sensor fusion, and real-time data analysis. The range also includes ESP32-CAM variants for visual projects, making it versatile for both learning and sophisticated IoT experiments.